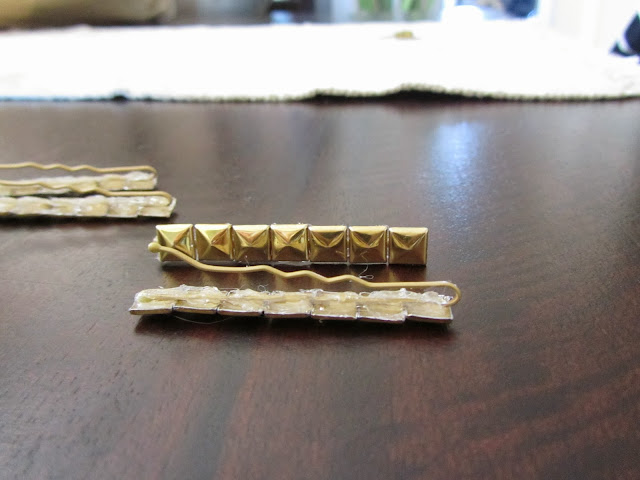
This was a fun little craft I did over the weekend. I had been at the craft store picking up some essentials to wrap a gift, when I wandered through the aisles. I found these little golden studs in the "iron-on" section, and picked 'em up thinking I may embellish a headband or something.
When I got home, I was browsing the internet and saw these great, thin, golden hair clips. I loved the look, but they are $58. Yup, 5. 8. together. nuts.
I decided on trying to replicate it somehow, and landed on blonde bobby pins! Now, they're much smaller obviously, but same general idea-ish.
I bent the bobby pin open, put a dab of hot glue on the back of the gem, and placed it on the flat side of the bobby pin. Wait about 3 seconds, just so it slightly cools, then push your finger into the dollop of glue so it flattens around the bobby pin. You want to fully encase the bobby-pin in glue, otherwise the gems will fall off.
Up-close from the back, it's not so cute. Some challenges I encountered, the glue is f*#$^ hot. be careful. Also, if it's too clumpy , use the tip of the hot glue gun to smooth them out. Also, you really need to bend the pin open a bit, and sometimes it's a challenge getting it back together. This may have taken a light tap of a hammer or two. And, I used tiny scissors to trim some of the excess strings.
The finished product adds an edgy-gilded flair to your look.
I'm really pleased with them overall!


No comments:
Post a Comment