Pages

Wednesday, July 31, 2013

DIY: Nautical Rope Vase


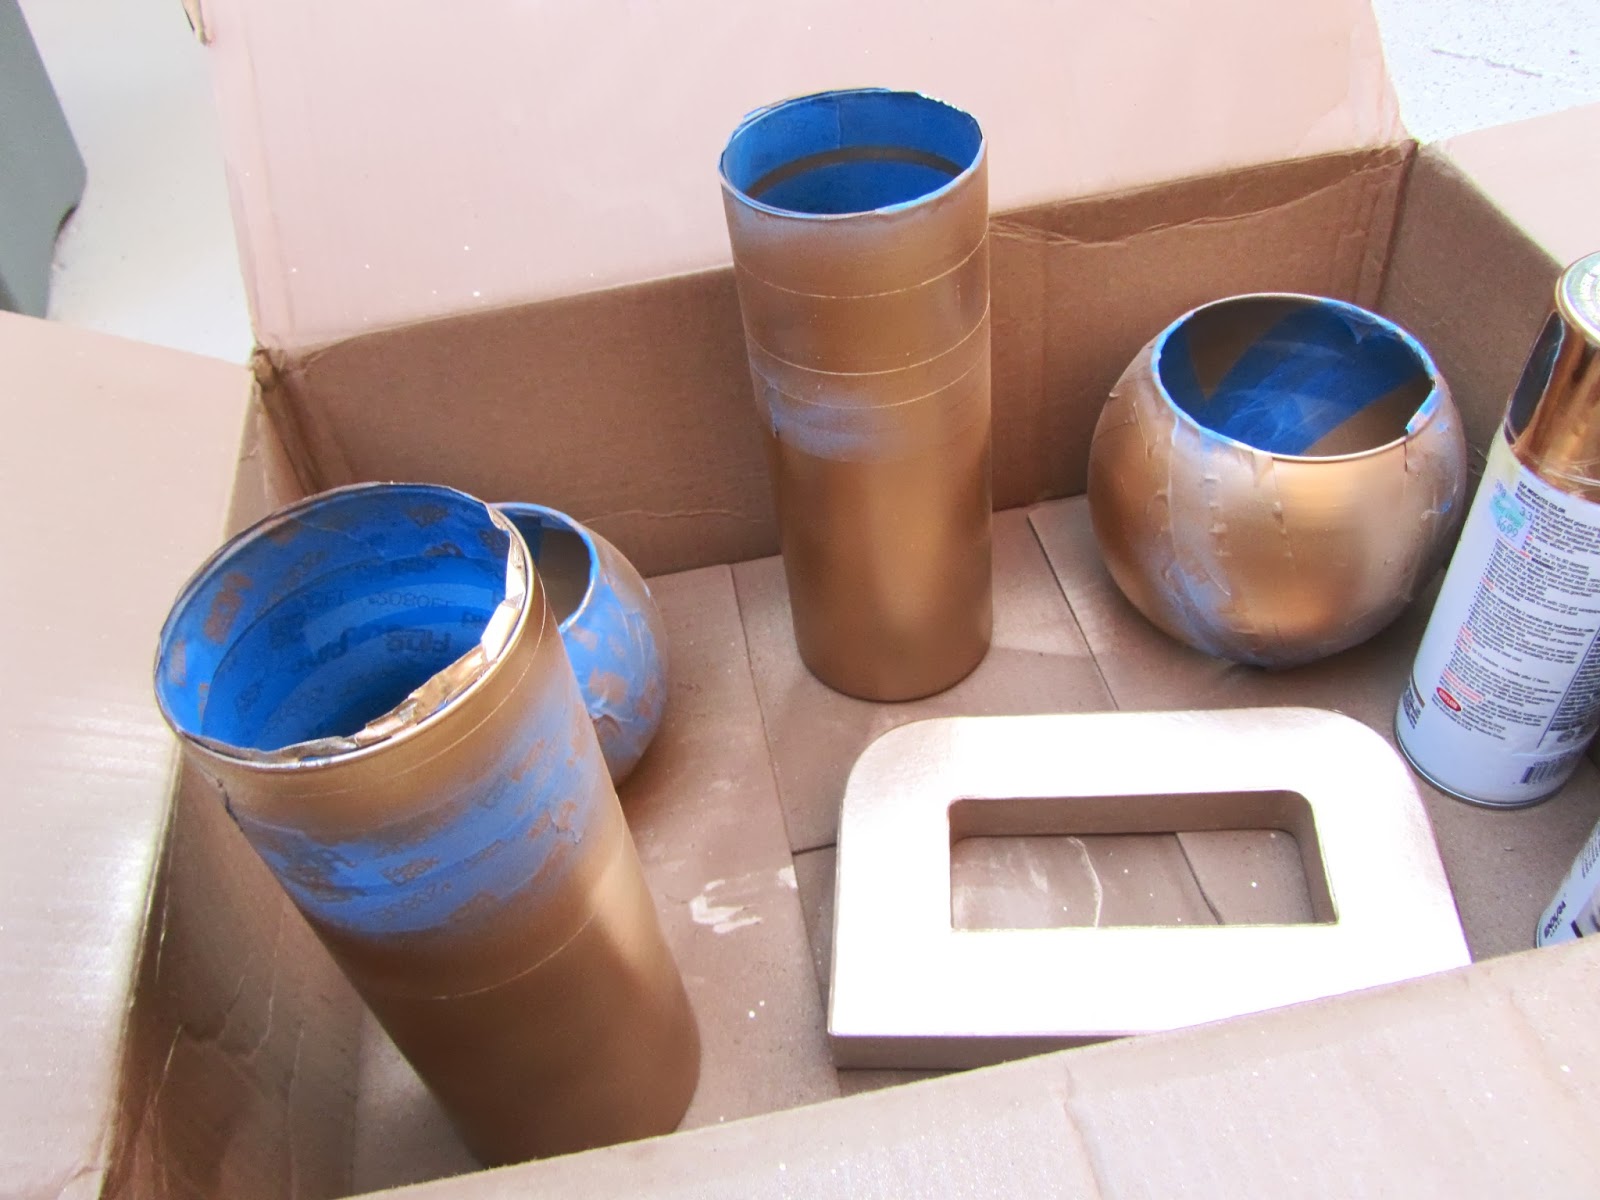
Remember a few weeks ago when I did that spray painted vase?  Well, as I mentioned, one of them had gotten botched. I just put it aside and figured, eh, I'll eventually figure out what to do with it. 

Post our beach vaycay to the FL Keys- I've been feeling quite nauty (get it..?!) and thought I'd incorporate a little nautical flare to my floral-holder collection. 


For this DIY nautical rope vase, you'll need:

A vase. 
The one I used is about 6 inches in diameter and about 12 inches tall- But i also think a round one would look great too!
Rope-like trim, this vase took 8 yards 
(found in the fabric section at craft store) 
Hot glue gun and sticks
[I have a mini one and used 4 sticks]
and clear tacky craft glue.

place hot glue around the starting edge and pinch/smooth once slightly cooled to secure the rope so it doesn't fray.

I worked in halves. Spread the tacky glue all over the vase and worked wrapping the rope and securing with hot glue every 2 inches, taking care to press down and together and hold in place until the hot glue cooled.


Once the whole vase is covered, cut the rope and secure in place with hot glue. I then placed extra hot glue along the bottom and pressed into place while cooling to get a nice flat bottom. 

Be so very careful. hot glue can get crazy hot.

You could take it to another level by spray painting the finished and dried for 24-hour product any color you'd like! or just with a clear resin top-coat for protection.
I also thought about making a pretzel looking knot, spray painting that gold and attaching it to the side.
But, for right now I like the simple look of the light beige trim and think it's classic, yet fun!

In all, this lovely nautical inspired rope vase cost me about $14.oo to make.
 [vase, hobby lobby, 4.99 + half off; trim, hobby lobby, $1.40/yard)

so. worth it.

Tuesday, July 30, 2013

Tipsy Tuesday: Pisco Sour


Peru has a special place in my heart. 
A little over 2 years ago, after hiking the Inca trail to Machu Picchu for 4 days with my amazing man, he got down on one knee and proposed. We have a giant print hanging in our dining room of this beautiful place and our experience there made memories of a lifetime.

A brandy called Pisco is made there, fermented from certain grapes that make a deliciously tart libation. I had more then one while in Peru, and have been wanting to recreate it for a while now.


You'll need:

1 egg white (yum- it's a fizz. Make sure it's fresh and I choose organic)
2 & 1/4 oz fresh lime juice
2 & 1/4 oz Pisco
2 tablespoons of superfine sugar
Angostura bitters to top

Fill a shaker with 5-6 ice cubes, and layer ingredients in order listed. Shake for a solid 30 seconds and strain into a chilled fizz cocktail glass. Top with 2-3 drops of bitters.

adapted from: the art of the bar


then give it an easy stir. You don't want to de-fizz your fizz!


It's got a citrus-bite and goes down way too smooth, so be careful!
One of these at high altitude def put. me. out.

Pisco is so mild and I'm excited to try new things with it.

until then, enjoy this classic! 


Thursday, July 25, 2013

Links I Love


Since I'm vacationing in the FL Keys this week, I thought I'd do a little beach/nautical inspired Links I love! Hope you're having a fantastic week!

Follow along on instagram, @mrs_driggs

1. love this bathing suit top
2. fringe on a beach towel adds a little extra flair
3. A tunic is a great cover up and can double as a top with some shorts for lunch. 
4. the gold details on these sperry topsiders are lovely. and they're on sale!
5. Baublebar's new collection includes a dainty gold anchor.
6. Because when you live in a land locked state, you need SPF and fake-it until you make it tan skin.
7. These sugar cookies are just too cute! 

Tuesday, July 23, 2013

Tipsy Tuesday: Grilled Peach Bellini


I love a good bellini. 
I keep 2-3 bottles of champagne/sparkling wine in my fridge at all times. You never know when you'll want to pop some bubbly to celebrate something! It may be silly, but I think the anticipation and then the "pop" gives special moments a little extra sparkle. 

So when I found out I passed a super-big-deal licensing exam last week, I had to break out a bottle!

As I giggled and danced around the kitchen, I saw the last two beautiful ripe peaches in the fruit bowl.  I saw a grilled peach salad on a blog I like to read the other day, and I thought to myself, hmm. Why not grill the peaches prior to smashing them up to mix with my bubbly.. surely it will caramelize the fruit and give an added smoky-sweetness to an already brilliant beve, right?

Yes. Holy moly, Yes.

Sprinkle peach halves with sugar on both sides and grill 1-2 minutes on each side over high heat. The sugar will start to burn/smoke a bit so be careful, and open a window.

Let peaches cool and puree in a blender with 1 teaspoon fresh lemon juice and 1 table spoon of white sugar. This took my vitamix about 6 seconds. 

fill bottom of champagne glass with 1-2 tablespoons of puree and top with bubbly.

Enjoy! 


Friday, July 19, 2013

Five Things.

Louisville skyline from the top of the walking bridge, Big Four Bridge. 

 Lavender Lemonade from one of my fav spots, garage bar

Giant chalkboard wall outside of Speed's market location. 
I went with something in the vein of my wanderlust rather then earth-shattering.
"eat sushi in japan"
Derby pins at WhyLouisville
I just love Derby.
I was tempted to buy this hipster flyswatter. 

My little sister-in-laws came to town last weekend for a visit! J and I love having guests. It gets us out and about town to see/do things that have been on our list for some time, but haven't gotten around to doing yet because we're lazy.

We packed a LOT into just 2 days (midnight frozen yogurt, sky zone, walking bridge and riverfront, batman movies, hibachi, homemade ice cream), but the highlight was definitely just spending time together. They're such sweet girls, and we're lucky to have them in our lives. 

Have a great weekend! 

Wednesday, July 17, 2013

Peach Galette


My dear friend Taylor had gone out to Huber's farm with some friends the other day, and was so sweet to drop by after with some lovely ripe peaches. 

I had a disk of pie crust in the freezer from strawberry extravaganza post-my own trip to Huber's a few weeks back. 
[Unknowingly at first, the pie crust recipe i made was a double batch.] 

In an effort to not have a repeat fruit-pie, I decided on a galette to best use the quickly ripening beauties.  I've never made one, and, moment of truth...making pies look cute is hard for me. There's definitely an art to making an aesthetically pleasing pie crust. A skill I am no where near perfecting, and to be honest, am not totally interested in working on. 

Plus, "galette" sounds so much fancier, right?!
It's fun to say.
Go on... Galette

For this rustic treat, I adapted from the tried and true Martha herself. I decreased the sugar to 1/4 c because these peaches were just so sweet on their own.

It is so yummy!! and pleasing to the eye. I will def keep this in my recipe box.  

Thanks, Tay!
xox

Monday, July 15, 2013

Brow Business


Truth: You need to be filling in your brows.
Yes, you.

Your brows are awesome, you say?

You should still comb them, and fill in the blanks.
Especially if you're doing anything that's captured on film.


As the years have passed, my opinion of must-do make up essentials has shifted. I used to think that if you only had 2 minutes before running out the door, mascara and under eye concealer were the barebones absolute musts. 
Now I know, cover imperfections and fill your brows

1. Start with good lighting. Natural light works best, or a lighted makeup mirror is fantastic as well. With a clean comb (like the one on the end of this brush), comb your brow hairs up and use a small scissor to trim long edges beyond your natural shape.

2. In shaping your brows, hold a pencil along the edge of your nose strait up to see where the edge of your brow should begin.
Hold it on a diagonal line from your nose the outer edge of your eye to see where it should end.
A diagonal line from the edge of your nostril to your outer iris will show you where the arc should sit.

3. I love these wax stickers. They have a natural arc shape and make for easy shaping and quick, no-fuss cleanup.
Also, these stencils are fantastic for giving you a dummy-proof shape to fill in. Line the stencil up according to guidelines from #2, fill your whole brow in with a white eye pencil, remove the stencil, then tweeze or wax any hairs that aren't white! voila.

4. For water proof all day wear, I love this liquid-gel brow cream. If your brows are naturally sparse, this is great for filling in all the gaps. Use short strokes with a stiff angled brush from #1, starting at the inner corner moving out to the arc.  It lasts long, but doesn't come in light shades.

5. This powder is user friendly and comes in a variety of shade for every hair color. You should chose 1 shade darker then your hair color. Two colors on each pallet allow for a perfect match.

Keep in mind: 

*Your brows are sisters, not twins *
They will not match perfectly. Ever. so give it up and figure out your "good side"

*they're brows, not tadpoles*
It's just not a cute look.

*don't over-tweeze*
seek professional help if you are in doubt

xox


Tuesday, July 9, 2013

Tipsy Tuesday: Ginger Mint Fizz


1/2 oz honey simple syrup
1/2 oz fresh lemon juice
1 1/2 oz Gin
8-10 mint leaves
ginger ale

pour lemon and honey simple syrup into the bottom of a high-ball glass. 
Add mint leaves and muddle well to release the mint.
 Add the gin
Fill the glass to the top with ice
Top with ginger ale
stir gently.

This is a light and refreshing libation. The mint is strong and fresh, with a subtle ginger-sweet undertone. If you love a super-sweet drink, this isn't it. 

Also, this is my first original cocktail creation! 

yaa-hoo.


Monday, July 8, 2013

DIY: Gilded Vase


I've been feeling a bit crafty lately.

And with summer in full bloom, what better to tackle then a gilded vase!

I was inspired by a Pintrest pin, the lovely flowers i saw at whole foods, and the recent glassware sale at hobby lobby (50% off, yes please).

You'll need:
A good gold metallic spray paint
Painters tape
and cheap glassware (the round one above was 5.99 +50% off)


 I taped various designs, some worked out, some not so much. I eyed it with all my designs. It doesn't have to be perfect- but considering- they turned out pretty darn even.


My fav metallic spray paint.


after two coats, I allowed everything to dry for about 3 hours. Then, carefully peeled away the tape. 
[This is where one of them got a bit botched]. 

Also, take care while spraying to avoid getting specks inside the glassware. I had a few stray specks which i was able to scrub out with warm water and a scouring pad. 

Overall, I am super pleased with the results! The pop of gold and bright colored blooms on the coffee table is a summer delight.